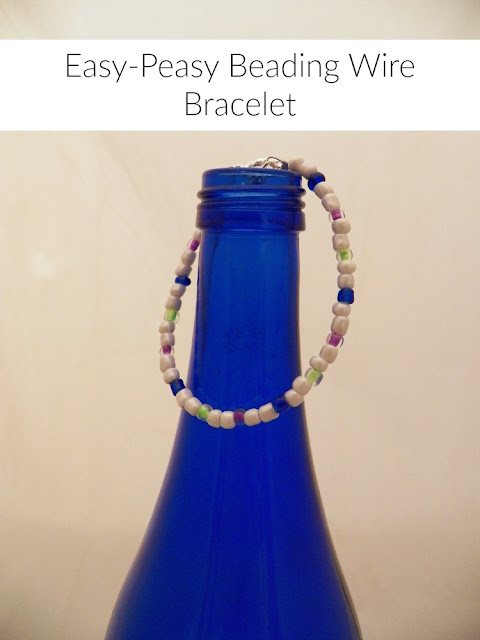
Easy-Peasy Beading Wire Bracelet
Beading wire is one of my favorite ways to make bracelets and anklets. It's not only easy to use once you learn, it's not expensive either. I'll be showing you how to use beading wire to make an simple bracelet and giving you tips. Let's start.
Supplies:
19 strand, .015 in. beading wire (more on this in a minute)
Crimp beads
Toggle clasp
Seed beads
Wire cutters
Needle nose pliers
A note on beading wire-
Beading wire comes in different sizes and number of strands. You don't need to worry about this too much. You can find it at most craft stores. Crimp beads are what you use to finish the ends and are very easy to use, as you will see.
Step 1: Using either the wire or a measuring tape, measure around your wrist. You don't want it too tight, but you don't want it falling off either. Between 7 to 8 inches is good, however, if you need it bigger or smaller for your wrist, go ahead. Personally I like about 6 1/2 inches.
Step 2: Cut the wire. Important: make sure to add an extra inch or two to the length you measured before cutting. This will be used for the ends. If you are unsure how much to add, more is better, but don't go overboard either.
Step 3: Put a crimp bead on one end of the wire, followed by one half of the clasp. It doesn't matter which.
Step 4: Pass the end of the wire back through the crimp bead. You can leave a little tail if you want, though I suggest not.
Step 5: Take the needle nose pliers and smash the crimp bead between the jaws. It may take several tries.Make sure it is completely smashed or it will come apart later. If you left a tail, snip it now.
It should look flat like this when it's done.
Step 6: String the seed beads on however you like. Make a pattern, go for a monochrome scheme, whatever you want. That's the fun of making your own jewelry. There's no right way to do it.
Step 7: Stop stringing when your bracelet is long enough to reach loosely around your wrist, not counting the clasp.
Step 8: String another crimp bead, then the other half of the clasp. Put the end of the wire back through the crimp and pull it so the loop is small. This may take you a while to master, so don't worry if it's kind of sloppy.
Step 9: Smash this crimp as well. Remember, make sure it's well squished. We don't need our beautiful jewelry falling apart. Cut the tail of the wire off and tuck anything left inside the bead so it won't scratch you.
Finally, wear your awesome new bracelet and smile. You just made your own jewelry. Isn't a great feeling? These also make perfect gifts for family or friends. Who doesn't like a handmade bracelet?
If you enjoyed this post, check out my other jewelry posts- How to Make Simple Earrings and How to Make Feather Earrings. Are there any jewelry tutorials you want me to do? Let me know.


Comments
Post a Comment